I can do all things through Him who strengthens me. - Philippians 4:13
It's a Catholic school, by the way. The idea is that they would keep the doves all summer and try to remember what they want to achieve, and that God is the power they have to reach their goals. Anyway, I did the project, too, because I do think it's a nifty idea. I told my students that they didn't have to share their lists - it should be just for them - but I'll share my list!
- Read at least 5 new books
- Pray at least once everyday
- Watch the Star Wars movies (ONLY 4, 5, & 6)
- Make a crochet brain that opens up and has amigurumi dolls of different parts of the brain inside
- Eat more healthy foods than unhealthy foods
- Pilates everyday... er... maybe?
- Draw or paint everyday
- Give someone genuine compliments everyday
- Fully plan out all my lessons and projects for 2012-2013
- Play through Chrono Trigger, Metroid, and Zelda (Caleb will help me)
Origami Dove
In 13 lucky steps!
Step 1 - Start with a square piece of paper (I had to cut mine down)
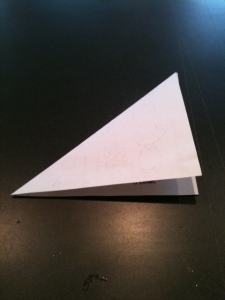
Step 2 - Fold down one corner to meet its opposite so you have a right triangle.
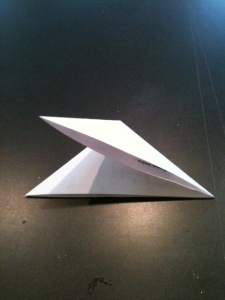
Step 3 - Fold the triangle in half by pulling the top corner down to meet the bottom right corner. This is also a right triangle, just smaller.
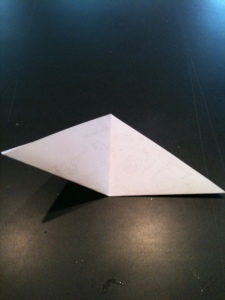
Step 4 - Open just the last fold so you're back to the big right triangle, but now with a crease.
Step 5 - Turn the triangle around so the longest side (the hypotenuse) is on the bottom and the crease is running down the middle.
Step 6 - Fold the left edge of the triangle down to meet the crease.
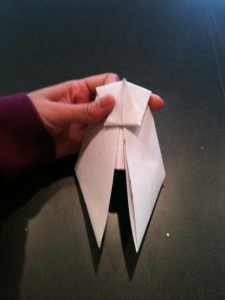
Step 7 - Fold the right edge to meet the crease so that now you have an arrowhead or diamond shape.
Step 8 - Fold the top down to the widest part of the diamond.
Step 9 - Fold just the point back up to meet the last fold line.
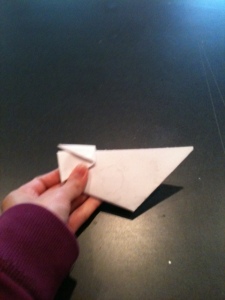
Step 10 - Fold the whole "diamond" in half between the two "wings".
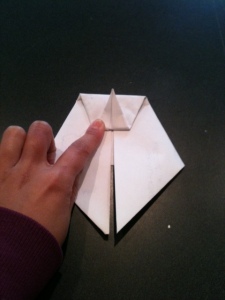
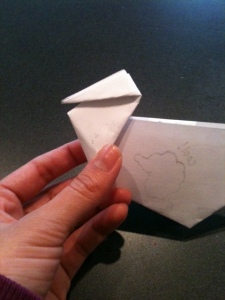
Step 11 - With the dove folded in half, split open just the base of the neck (where my hand is).
Step 12 - Push the base of the neck up to make the neck extend.
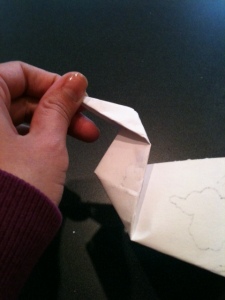
Step 13 - Pull the tip of the beak away from the dove to make the head point up.
I decorated the outside of mine with that scripture quote, but some of the kids made theirs with fire or other various "I'm done with school, now let me go home" themes.






No comments:
Post a Comment